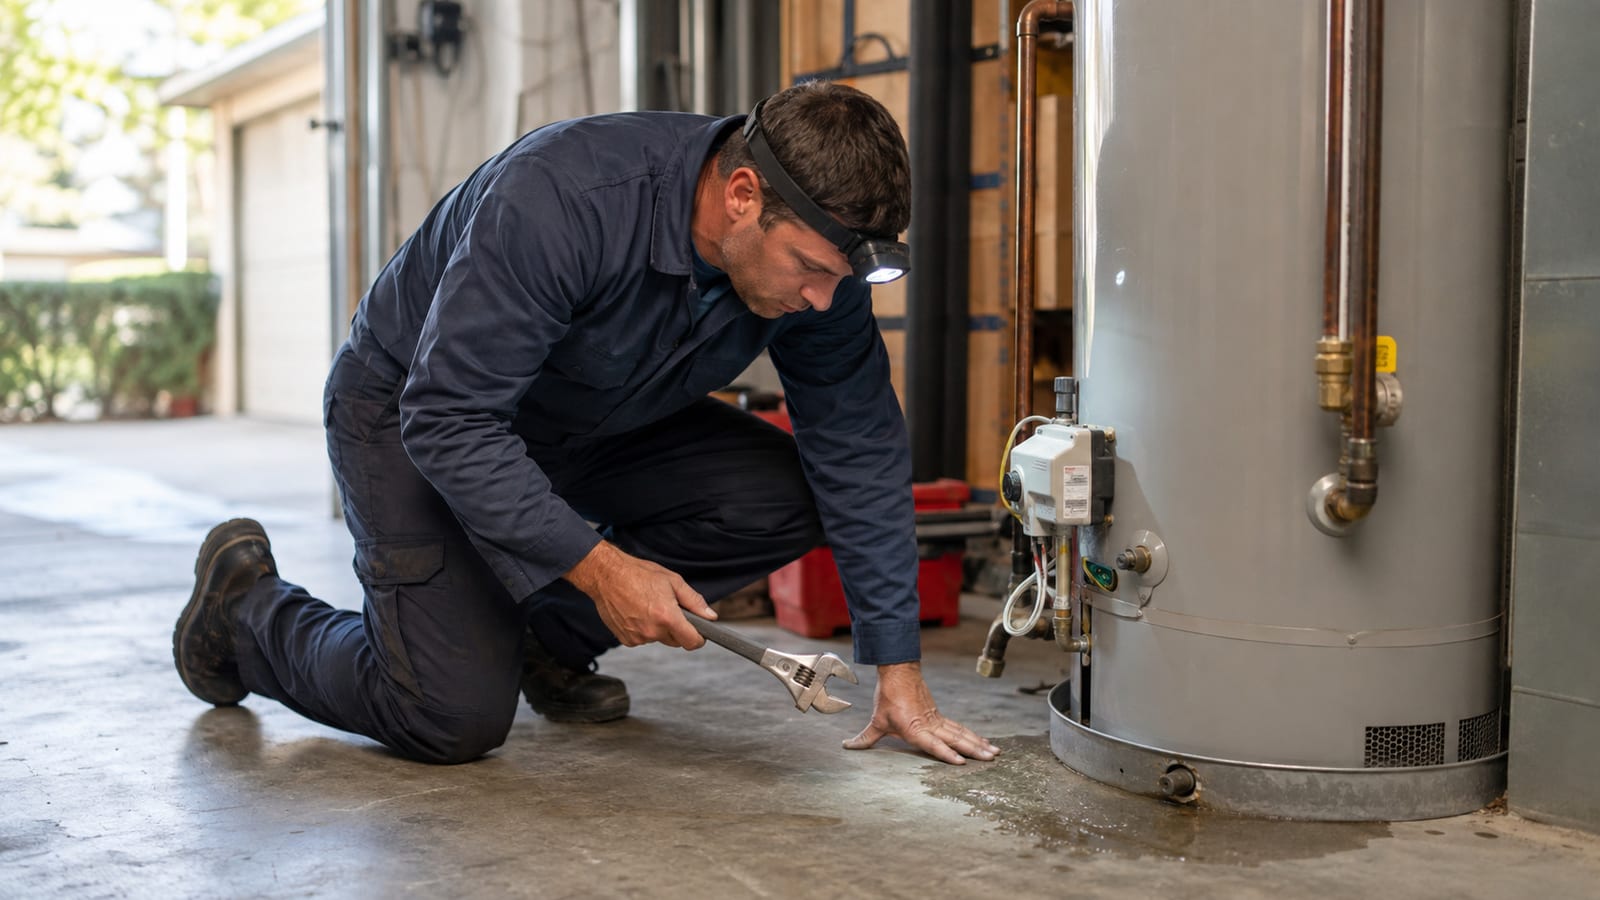
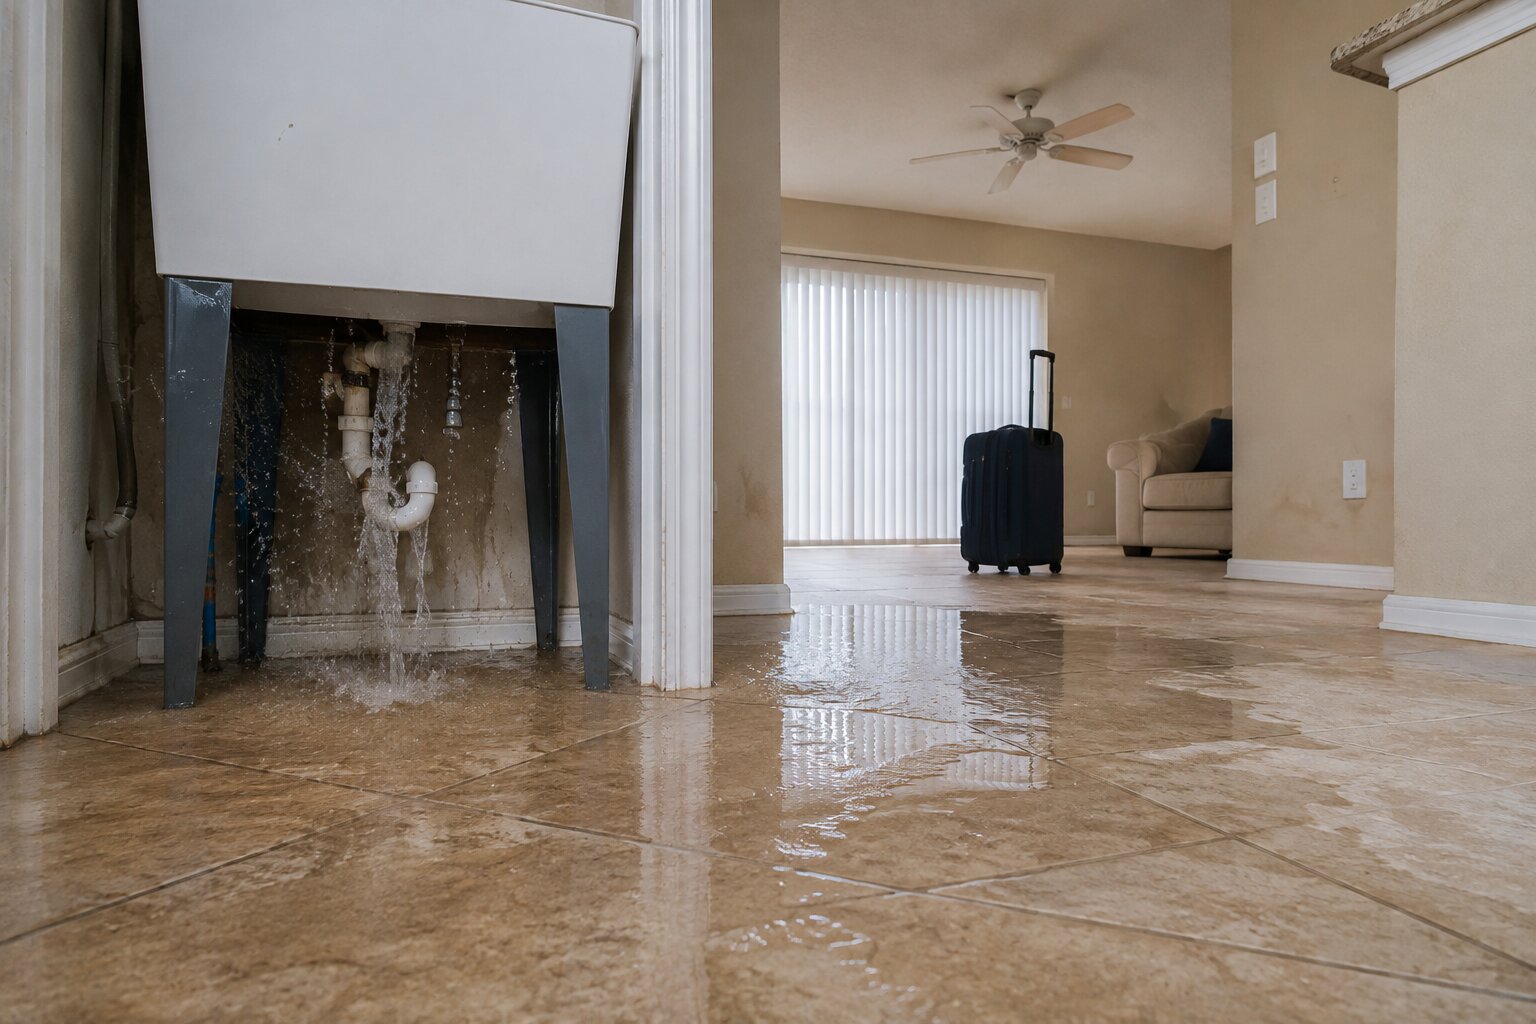
Not every water heater leak means the same thing. Some are minor and easy to address, while others signal that the tank itself has failed and needs to be replaced quickly before it causes serious water damage.
Learning to recognize where the water is actually coming from is the fastest way to know whether you are dealing with a simple repair or a situation that needs urgent attention.
Four Common Causes of a Water Heater Leaking From the Bottom
A Dripping Temperature and Pressure Relief Valve
The temperature and pressure relief valve, often called the T&P valve, is a safety device designed to release excess pressure or temperature from the tank. Water from this valve typically travels down a discharge pipe and can appear to be coming from near the bottom of the unit.
An occasional drip after the unit has been running hard is not usually an emergency, but a valve that drips constantly, or discharges water forcefully, can indicate excess pressure inside the tank and should be checked promptly.
A Weeping Drain Valve
The drain valve near the base of the tank is used to flush sediment out of the unit during maintenance. Over time, this valve can loosen, develop mineral deposits, or wear out, allowing a slow weep of water.
This is usually one of the less urgent causes of a bottom leak and is often a straightforward valve repair or replacement rather than a sign of tank failure.
A Loose or Corroded Fitting
Water and gas fittings near the bottom of the unit can loosen over time due to vibration, age, or minor corrosion. A leak from a fitting can look similar to a tank leak at first glance, but it is often limited to the connection point rather than the tank itself.
A Ruptured or Corroded Tank
The most serious cause of a bottom leak is a failure of the tank itself. Sediment buildup, internal rust, and age-related corrosion can eventually create a crack or hole in the tank that cannot be repaired.
Once a tank has ruptured internally, water will continue leaking regardless of any valve adjustments, and the unit will need to be replaced.
How to Tell Which One You Have
- Dry the area thoroughly with a towel, then watch closely to see where new moisture first appears.
- Check if the leak is constant or occasional, since a steady, ongoing leak points more toward a tank failure than a minor valve drip.
- Note the age of the water heater. Many units last around 8 to 12 years, and a leak on an older unit is more likely to indicate the tank itself.
- Look for rust-colored water or visible corrosion near the base, which often accompanies tank failure.
Safe Shutdown Steps for Electric Water Heaters
- Turn off the dedicated breaker for the water heater at your electrical panel.
- Close the cold water supply valve at the top of the unit to stop feeding water into the tank.
- Avoid touching the unit, outlets, or panel with wet hands or while standing in water.
Safe Shutdown Steps for Gas Water Heaters
- Turn the gas control valve to the off or pilot position, following the labeling on the unit.
- Close the cold water supply valve to stop additional water from entering the tank.
- Ventilate the area if you smell gas, and avoid using an open flame or light switch nearby.
- If you smell a strong gas odor at any point, leave the area and contact your gas utility before doing anything else.
Why an Attic-Installed Water Heater Is Far More Urgent
Water heaters installed in an attic, common in many Central Florida homes, deserve a faster response to any leak, regardless of how minor it initially appears.
- A leaking attic unit sits directly above living space, so water can travel through insulation and drywall before it becomes visible from below.
- Drain pans and drain lines are designed to catch minor drips, not the volume of water released by a ruptured tank.
- By the time a ceiling stain appears, water may have already been leaking for some time, and damage can be far more extensive than it looks from the room below.
Any leak from an attic-installed unit should be treated as more urgent than the same leak from a garage or closet unit at ground level.
What the Damage Timeline Looks Like in a Florida Home
- Within hours, water can begin soaking insulation, drywall, and flooring near the unit.
- Florida's humidity accelerates the conditions that lead to mold growth once materials stay wet.
- A slow leak left unaddressed for days or weeks can eventually affect framing, subflooring, and ceiling structures, turning a plumbing repair into a larger restoration project.
Should You Repair or Replace?
- A young water heater with a minor valve or fitting issue is usually a good candidate for repair.
- An older unit, especially one showing rust, corrosion, or a leak from the tank body itself, is generally more cost-effective to replace than repair.
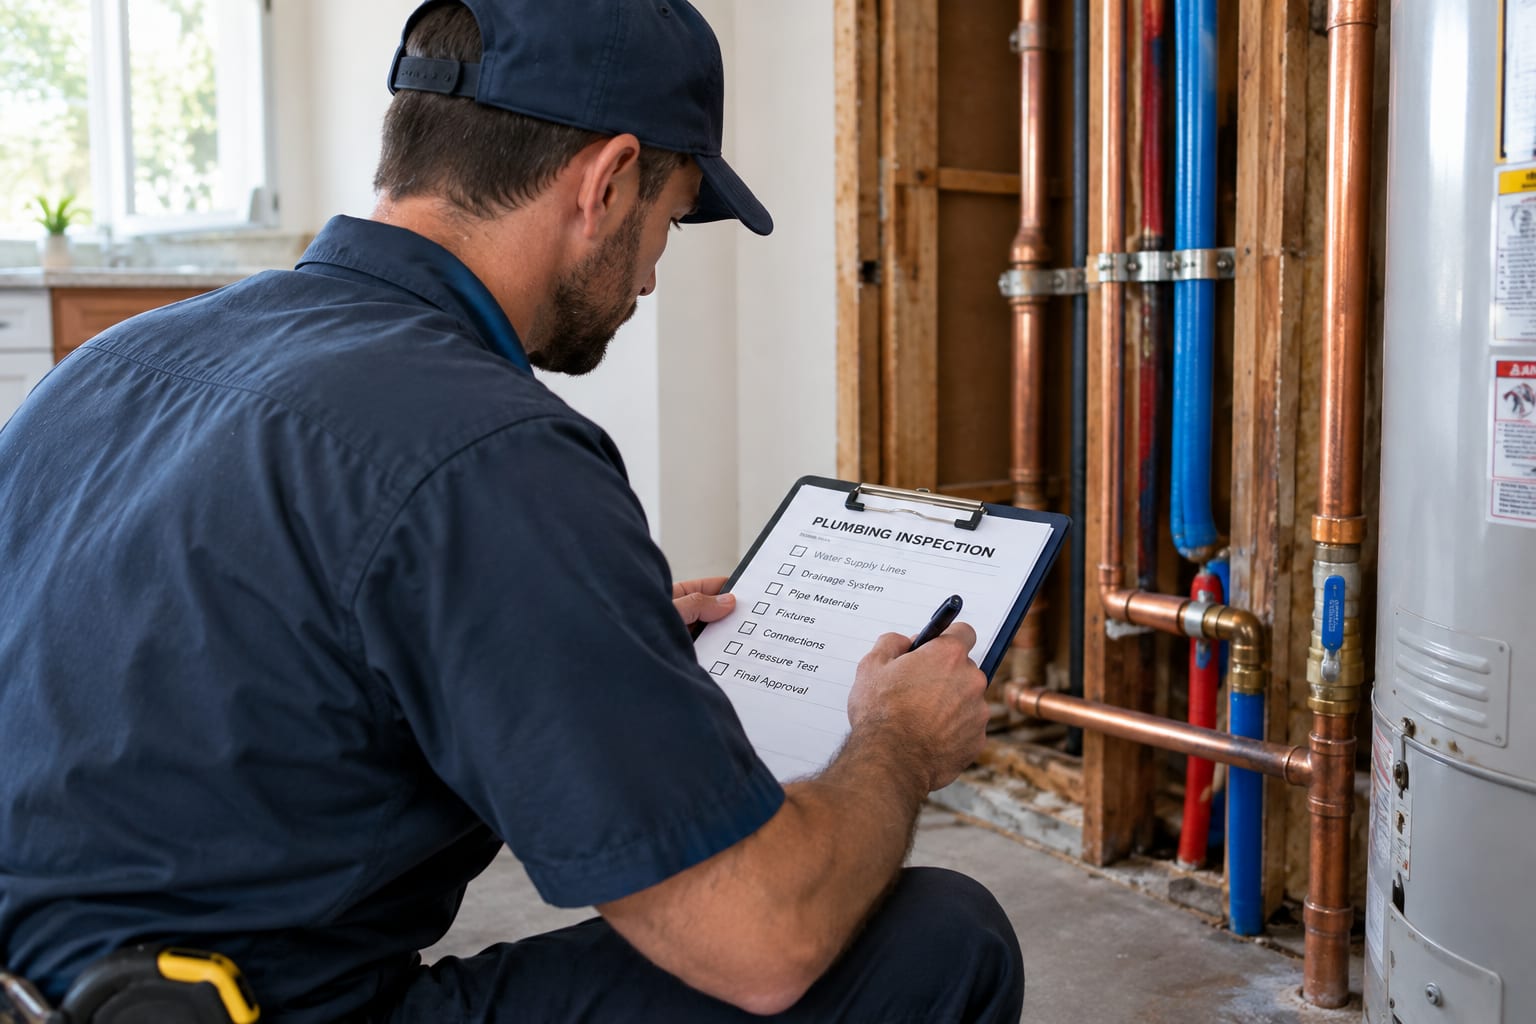
- If you are unsure which category your unit falls into, a professional inspection can help you make a confident decision rather than guessing.
Preventive Maintenance That Reduces Leak Risk
Many bottom leaks develop gradually and can be caught early with a few routine habits.
- Flush sediment from the tank periodically through the drain valve to reduce internal buildup that contributes to corrosion.
- Have the anode rod inspected during routine service, since a worn anode rod allows the tank itself to corrode faster.
- Watch for early warning signs such as popping or rumbling noises, which often indicate sediment buildup before a leak develops.
- Keep the area around the unit clear so any new leak is noticed quickly rather than going unseen for days.
Water Heater Leaking From the Bottom in Orlando?
Whether the leak turns out to be a simple valve issue or a sign that the tank has failed, fast diagnosis protects your home from unnecessary water damage. If your water heater is leaking, especially one installed in an attic, shut it down safely using the steps above and contact a licensed plumber for a clear repair or replacement recommendation.